


| By: Paul S. Cilwa | Viewed: 7/26/2024 Posted: 1/30/2022 |
Page Views: 773 | |
| Topics: #Organica #VisualBasic #VB.NET #ClassLibrary #OrganicaLib | |||
| It's good to include a way of testing its routines with any library. | |||
So, you've just created a dynamic link library of string enhancement functions.
Do they work?
If you try using them in an application and one of them fails, it will be hard to determine whether the fault is in the application, or in the library routine.
That's why programmers write "test beds". Of course, test beds in the mechanical engineering realm are very mechanical (as shown in the photo above). In the software engineering kingdom, test beds are software: Small applications that add little overhead or complexity to simple calls to the various library functions and display their results.
So, in today's project, we're going to create a test bed for OrganicaLib. For now, it won't have anything to test; but we'll add to it as we create additional modules and classes for OrganicaLib.
Creating the Project
You should know how to create a new application project by now, but for completness (and to make sure we're on the same page), I'll remind you.
Start Visual Studio.
Locate and select Create a new project. Click Next.

Locate and select Windows Forms App. Make sure it's the one for Visual Basic, as there's also a project type for C# Windows Forms Apps. Click Next.
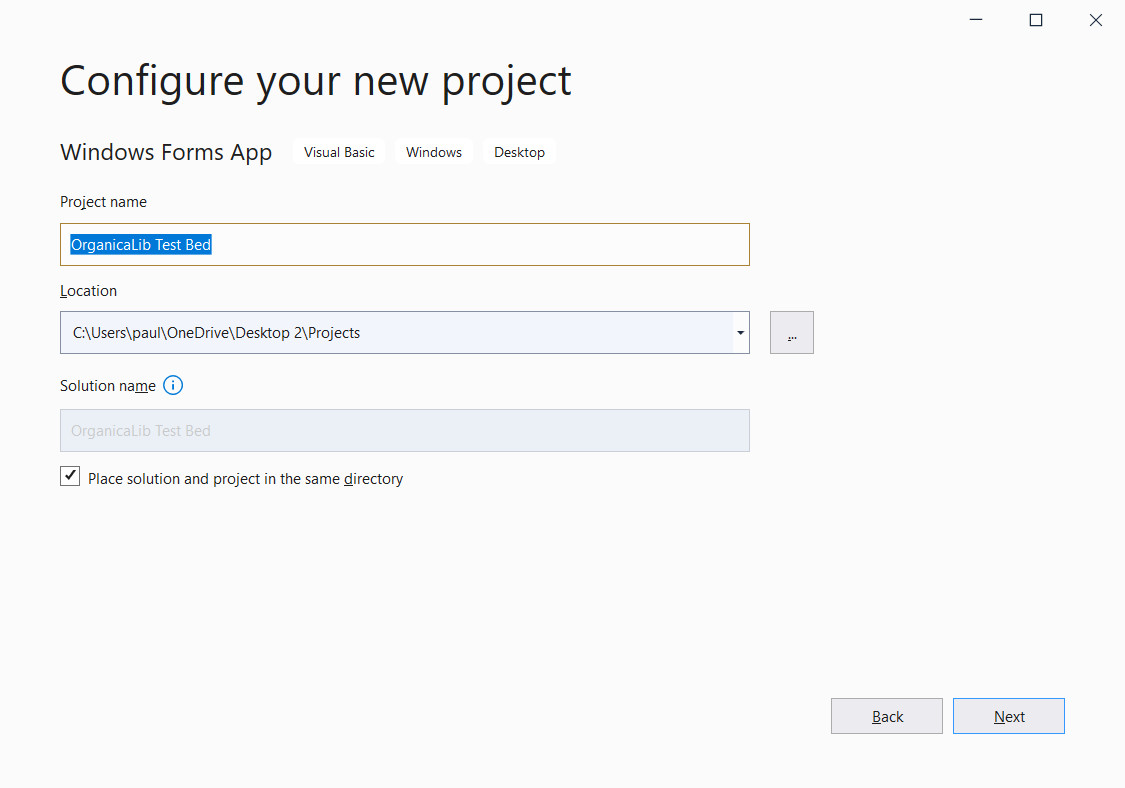
On the "Configure your new project" page, specify the name of your application (in this case, "OrganicaLib Test Bed") and make sure Visual Studio intends to put it where you want it. Click Next.
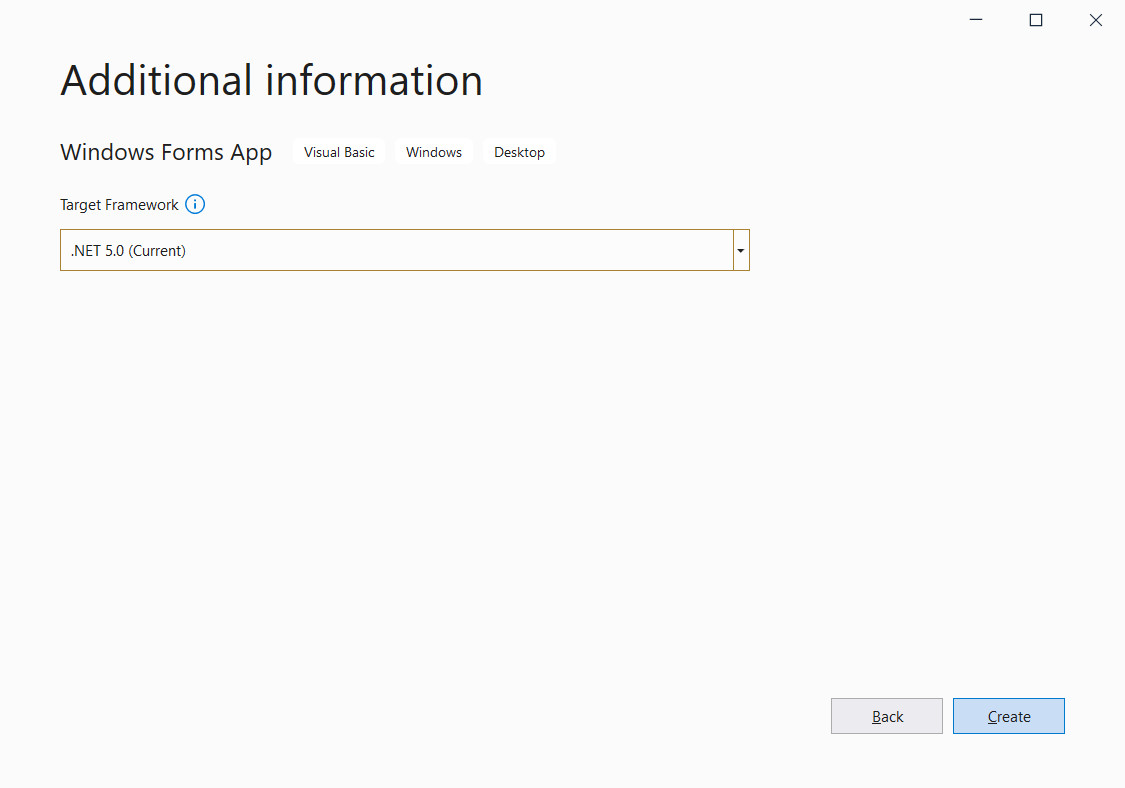
Select your desired target framework. I chose .NET 5.0 but if you need to use the project with an application aimed at an older version of .NET, go ahead.
Click Create and your project will be created, and Visual Studio will load it for you.
The WebView2 Control
A test bed, whether mechanical or software, must have a way of reporting results back to the user. Because each class and module in OrganicaLib will have very different reporting requirements, I decided to use a web browser control for flexibility in display. For example, if I need a table I feed the appropriate HTML into the browser control, and voila! there's a table. If I need plain text, or a list, or even audio or video, the browser control can handle it. Overall, this is a lot less overhead (and effort) than designing a dozen specialized frames filled with unique arrangements of controls, and the code to make sure only one frame, the appropriate one, is visible at a time.
Not that long ago, the control we all used was the WebBrowser control. However, it has been supplanted by the WebView2 control.
You won't find the WebView2 control on your computer (unless you've already downloaded it). You have to get it from NuGet. Luckily, Visual Studio provides easy access to NuGet. To get to it, right-click on the project name and click on "Manage NuGet Packages..." from the context menu.
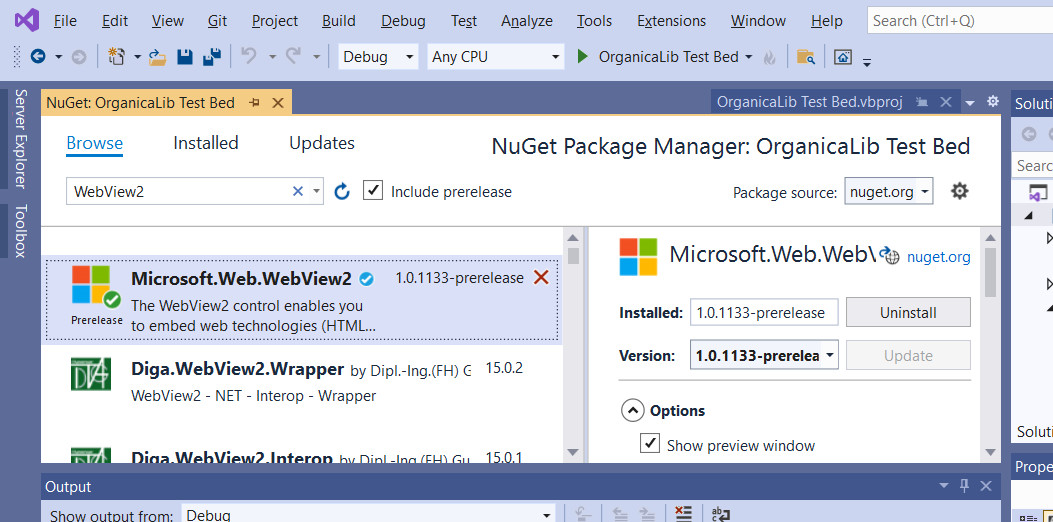
When the interface opens up, make sure you're on Browse
and type WebView2
. When the search has results, locate
Microsoft.Web.WebView2
and select it, then click Install
on the right.
Once the package has been made part of this project, the WebView2 control will be available in the Toolbox.
Connecting to OrganicaLib
Access to the library we are testing requires adjustments in several places: the project itself, and at the top of each code module that intends to make use of the library. (Which, in a test bed, would likely be all of them.)
Use the Project..Add Project Reference... to attach OrganicaLib to the test bed project.
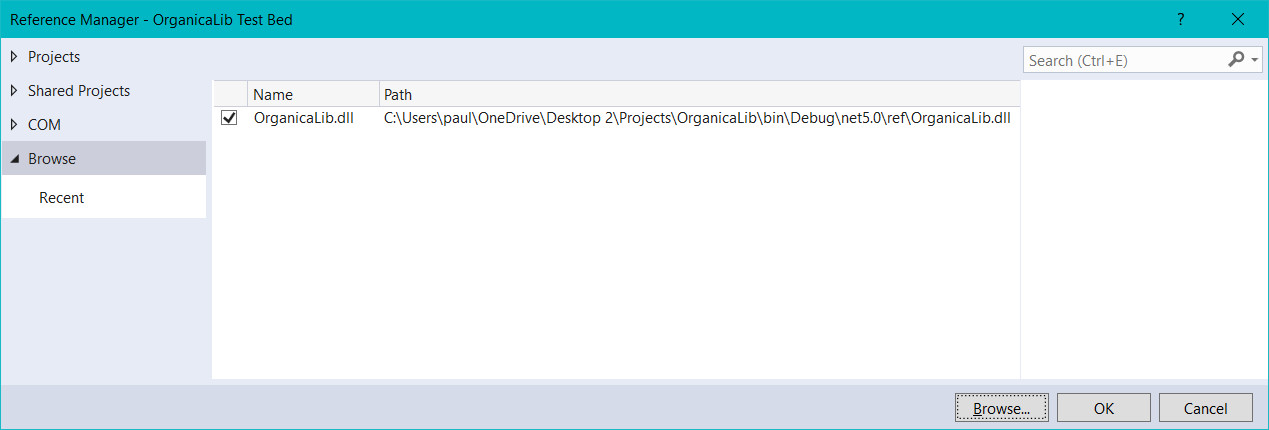
You'll have to click Browse
on the left, then the Browse
button on the bottom right, to bring up a standard file open dialog
so that you can navigate to the library you want. You will want the DLL in the
bin subfolder, not the bin/ref subfolder.
Renaming The Main Form
When Visual Studio created this project for you, it also created a first form for you, with the default name of Form1. Now, to be honest, the name of the form in a one-form application is probably the least of the things to worry about. Nevertheless, I always name my primary form Frame.
To do that, just locate the Form1.vb component in your project, right-click on it and select Rename. Change "Form1" to "Frame". When Visual Studio asks if you want to change the name of the form as well as the file, say yes. (If you try to change the name manually, it will cause an error in the system-level code that you'll have to correct.)
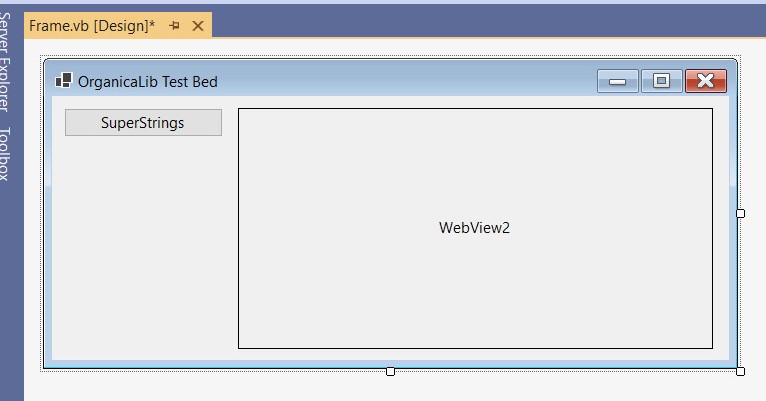
Designing the Frame
I envision this test bed as having a column of buttons on the left, one for each module or class in the library, and a WebView2 control on the right. My name convention for buttons is "cmd_" plus the text of the button. For example, if the button text reads "SuperStrings" then the button name will be cmd_SuperStrings. This makes everything a lot easier to manage.
So, after design, I have the Frame looking like this. I do expect the number and names on the buttons to change as we continue development of OrganicaLib.
Styling the Output
We could stop there, but the HTML defaults make for an unattractive and, frankly, unreadable output. So lets apply some CSS to our WebView2.
I can think of several ways to accomplish that:
- Do it in code:
Add a bunch of
Stringbuffer.AppendLinecalls, one per line. Or run the tested CSS through a compressor (takes away all extra space, making for a very small file that works just the same on a web page, but is just about impossible to read after compression. - Put it in a file:
It's a simple text file; you can create it in Notepad and save it with a .css extension. The test code will have to be modified to append an HTML include statement to load the CSS. Now, even though this is a test bed that is unlikely to be distributed as a stand-alone program, it still could be; and doing so requires managing, not just the executable itself, but also a dependent CSS file.
- Make it a resource:
You can still write your CSS in Notepad, but load it into your project as a "resource", an object that you attach to your project and is made a part of the executable itself, so there's only the one file (plus libraries, which are handled automatically).
We're gonna go with the resource approach.
That generally starts with a file, anyway. You may want something simpler; I just copied the table CSS from this website.
body
	{
	font-family: 'Franklin Gothic Medium', 'Arial Narrow', Arial, sans-serif;
	font-size: 8pt;
	font-weight: normal;
	}

table
	{
	display: table;
	font-family: 'Franklin Gothic Medium', 'Arial Narrow', Arial, sans-serif;
	font-size: 8pt;
	font-weight: normal;
	width: 100%;
	background-color: paleturquoise;
	color: black;
	border: 2px solid darkblue;
	margin-bottom: 12pt;
	margin-left: auto;
	margin-right: auto;
	border-collapse: collapse;
	}

table caption,
table th
	{
	background-color: darkblue;
	color: white;
	}

table caption {
	font-weight: 900;
	border-bottom: 1pt darkblue solid;
	color: black;
}

table:not(.Horizontal) tr:nth-child(odd)
	{
	background-color: lightblue;
	color: black;
	}

table.Horizontal tr:nth-child(even)
	{
	background-color: darkblue;
	color: lightblue;
	}

table td,
table th
	{
	padding-left: 1em;
	padding-right: 1em;
	}

table td {
	border-right: 1px darkblue solid;
	border-bottom: 1px darkblue solid;
}

table.Horizontal td:lastoftype
	{
	border-right: initial;
	}
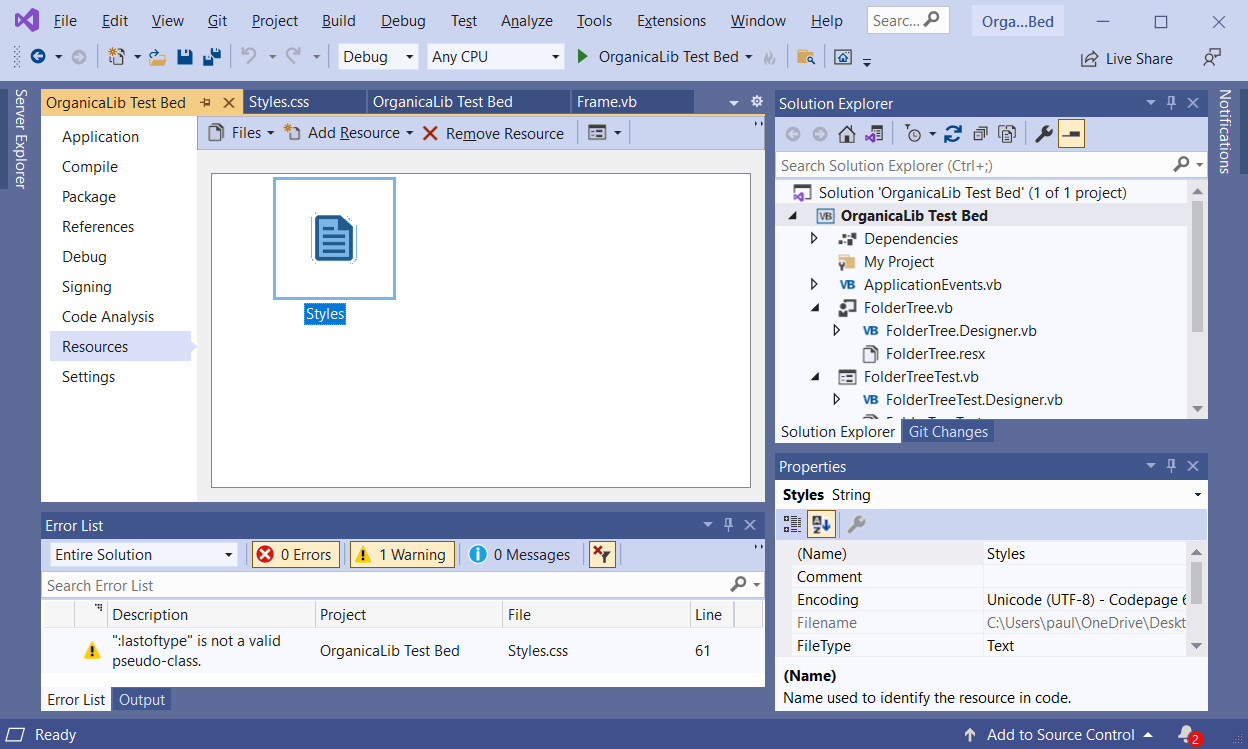
Save that file whereever you like; it doesn't need to be part of the project (although it can be). I called mine "Styles.css". Bring up the Project menu and click on the last item, [my project name] Properties. When that window opens, click on Resources and then Add Resource. Locate and select your file and click Open.
Bringing in the Resource
Let's now open Frame.vb and go to the code window. Add the following Private functions:
Public Class Frame

    Private Function StartHtml() As StringBuilder
        Dim Result As New StringBuilder
        With Result
            .AppendLine("<html><body><style>")
            .AppendLine(My.Resources.Styles)
            .AppendLine("</style>")
        End With
        Return Result
    End Function

    Private Function ConcludeHtml() As StringBuilder
        Dim Result As New StringBuilder
        With Result
            .AppendLine("</body></html>")
        End With
        Return Result
    End Function

End Class
The StartHtml function is where the CSS resource is loaded. This function will be called at the top of each button click procedure to start off a proper HTML page, including the insertion of the CSS. ConcludeHtml is called at the bottom.
Each of the library sections will have its own button and its own code for testing; but the creation of a StringBuilder object, and calls to StartHtml and ConcludeHtml will be common to all.
In each of the subsequent pages in this section, the description of how to implement the library component will be followed by a child page describing the test bed additions for testing that component.